The Ultimate Guide on How to Embroider a T-Shirt with a Machine
Embroidering a T-shirt is super easy if you know what you're doing. In this article, we'll teach you how to do it!
If you've never done any machine embroidery before just follow the steps to learn what to do.
You’ll learn about what stabilizers you can use, aligning the design correctly onto the fabric, what designs to choose, the right needle for the embroidery machine and how to hoop all together.
So let’s get started!
What is needed to embroider shirts?
The supplies needed for machine embroidery on a shirt are:
Cotton shirt, Embroidery design, Stabilizer, Bobbin and Upper Thread, Ballpoint needle

1.The T-shirt
What shirt to use for machine embroidery?
For embroidering a t-shirt you will need a good quality cotton shirt.
Usually the fabric of good shirts is slightly thicker. But any shirt will do, even an old one, if you are just testing.
We used a new cotton shirt from a local store. It is a basic, low cost shirt to show you that any shirt works. If we stitched on this, imagine what you can do with a thicker shirt!
Important note: If your t-shirt is new, wash, dry and iron it before stitching. This way you prevent the risk of shrinking and deforming the embroidery.
2. Embroidery design.
What designs work best to embroider a shirt?
For t-shirts, the best designs are the lighter ones, but if you want a dense one, so that you can’t see the fabric between the stitches, you always want a design that has underlay so it doesn't pucker. Also if it's too big it will look distorted if all design is a dense fill stitch.
Also keep in mind that a denser design takes more time to stitch. It depends on what you want and like.
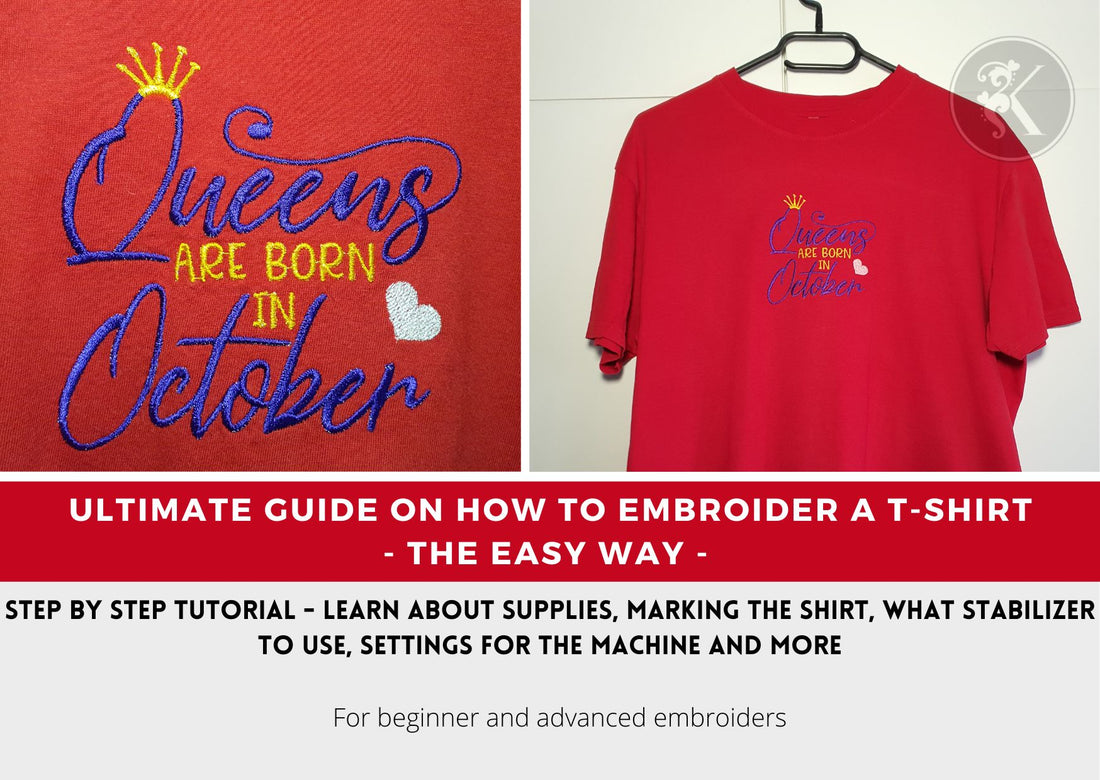
For this project we used one of our birthday themed design, Queens are born in October.
Important note: You can always choose a free design and test it on different fabric types and with different threads and stabilizers and learn what is the best setting for you. Practice makes better.
3. Stabilizer
What stabilizer works best for t-shirts?
The next thing you will need is a stabilizer. We recommend using a fusible no show mesh stabilizer for the backing but you can also use an adhesive cutaway or tear away.
The fusible will be much easier to place on the fabric and the results are looking much better. And is not visible under the shirt. I chose a white stabilizer for my light colored t-shirt. For darker tones, use a black stabilizer.
On the front you can use a water soluble stabilizer for great results. This is optional. Our was Madeira Avalon 20 microns film.
At the end we will need some backing for the embroidery to protect the skin. We used Weblon Stable from Madeira.
4. Bobbin thread.
If you are using a small single needle machine, prepare a new bobbin for your machine so it doesn't end in the middle of stitching.
Choose a bobbin in the color of the shirt or white for light shirts and black for dark shirt. Mine will be white.
5. Ballpoint / Stretch needle
What type of needle do I need to machine embroider a t-shirt?
This needle prevent puckering as well. This is optional, a standard needle will also work but not as good.
6. Thread
Depending on how dense and complex the design is, what fabric your shirt is, you can use a no. 40 for the upper thread and go until 75.
If you are a beginner and don’t know what these numbers mean, the smaller the number the thicker the thread. I will use the standard polyester Madeira 40. This takes practice to learn.
Prepare the colors you will use. I like to place the threads together to see if they compliment each other and the shirt. Depending on what color the shirt is and the message you want to send through the design, choose different color pallets. If I don t like a color of the design I use a different thread.
Prepare for embroidery step by step
1. Make a template for the design.

Take the measurements from documentation files. If you don t have documentation files, upload the design and read the measurements from machine to know the exact size and then create the template. Measure the width from the left and mark. Create a rectangle and cut it. Mark the center of the design.

2. Aligning the design to the shirt.
Place the shirt on the working table. Turn on the back and fold in half. Arrange as good as possible so it aligns correctly. With a ruler make a mark where the top of the design will be. Usually, the middle of the length of the sleeve, in this case 3 inches from the neck line. Mark the bottom of the design. Place the template and mark the center. Refine the alignment. Measure right and left to be the same size and adjust if needed. Mark the corners of the template.

Important note: Place the design so it complements the shirt. Example, for a v neck you might prefer to put the design on one of the sides, because under neck line will be too low.
3. Add the stabilizer to the shirt.
How to stabilize the fabric on a fuzible no show mesh stabilizer?

Turn the shirt inside out. The upper part of the design is usually placed from the middle of the sleeve. Place the stabilizer so it can be easily hooped. The shiny part of the stabilizer is the one that is fuzible. Place the shiny part down on the fabric.
Iron and press the stabilizer and fix on the fabric. I used the 2 dots setting on the iron. Make smooth but continuous movements with the iron. Don't leave the iron on the stabilizer, it will melt it, just make smooth moves on its surface! Also a little press on the iron is needed. Read your stabilizer's settings, might be different!
4. Align the hoop.

With the bottom part of the hoop inside, check the design's corners to fit in the hoop. Move the hoop so that the hoop's up and down margins are parallel to the corners markers on the t shirt. Gently press with your hands to make margins.
Next cut a piece of wash away stabilizer. Place the wash away on top of the shirt and secure with the upper part of the hoop. Check the stabilizer beneath for long enough margins.
Gently close the hoop but not entirely. Start to pool the fabric so it is tensioned correctly. The wash away doesn't matter, only the shirt and the bottom stabilizer. The hoop must feel almost like a drum membrane. Close the hoop completely.
Pull the t-shirt on the sides of the hoop so it doesn't get caught up under the shirt.
5. Attach the hoop to the machine.
Gently place the hoop to the embroidery machine. Again arrange the fabric so it doesn't get caught under the hoop or needle.
In the documentation file you can see the thread colors and layers. Choose the first thread and place it to the machine.
Important note: Hoop the shirt and use clips to secure the fabric on hoop so it doesn't mess with the stitching. Also be careful to not have fabric under the hoop!
6. Prepare the design.

You need to know where the neck is. Make sure that the design is placed correctly, meaning that if the shirt is turned like in my case, 90 to the right, the design must be turned as well. Center the hoop and the needle. Mine was perfectly placed in the middle. I just checked the margins.
Embroider
Every time the machine stops, you need to change the thread. Consult the documentation for threads order. As I said before, if you donțt have a documentation file for your embroidery file, you can see the threads order on the machine display or using an embroidery viewer like My Editor, which is a free software. Of course, any other software will do the job.
Finish the embroidery.

After the machine finished, cut the jumps while in the hoop, it's easier. Remove the hoop and tear the wash away. On the back, clean the jumps and then cut the excessive stabilizer. Be careful not to cut the fabric. With a wet towel and iron eliminate the remaining wash away and you're done.
Wasn't this fun to make? For me it was.
If you have different tips and tricks that others can use when making a shirt you can leave a comment below! We learn new things all the time and we are open to feedback!
If you liked this article and would like to see more you can subscribe to our channel and stay up to date.
Happy stitching!
Love to print this T-shirt chart? Download in pdf format and print it to place in your craft room to guide you. 