How to Machine Embroider a Name on a Ribbon | a Step by Step Guide for Beginners
Share
Embroidering a ribbon can be scary if you are beginner. But it can be very easy if you follow this step by step tutorial. In this video I will show you how to embroider a name on a ribbon in two ways: float and in the hoop.
The first things you’ll need are, of course, the supplies.
You will need: ribbon, embroidery design and documentation file, stabilizer, adhesive spray, new needle/s for the machine, threads and marking tools such as chalk and ruler.
What type of ribbon should I use?
Well this is up to you. It can be silk, polyester or grosgrain. The ribbon should be at least 1 inch wide if you use a satin stitch for the name. If you use a narrower ribbon, use a less dense type of stitch, something like triple bean or sketch so you prevent puckering.
What type of ribbon should I use?
Depending on what ribbon type, there are 2 types of stabilizers:
- For Silk use a heat away film so that you don’t need to wash the fabric
- For Polyester and Grosgrain use a wash away stabilizer or heat away. I prefer the wash away as it gives a cleaner look.
What needle works best?
For embroidery on ribbon a normal 75/11 standard needle will work, the only thing you need to know is that it needs to be really sharp, so it’s best to use a new one. If you use an old one it can ruin your ribbon.
How to embroider
The measurements.
Depending on what you are using the ribbon for, decide where you want to embroider. For this project we will embroider a name on the bottom part.
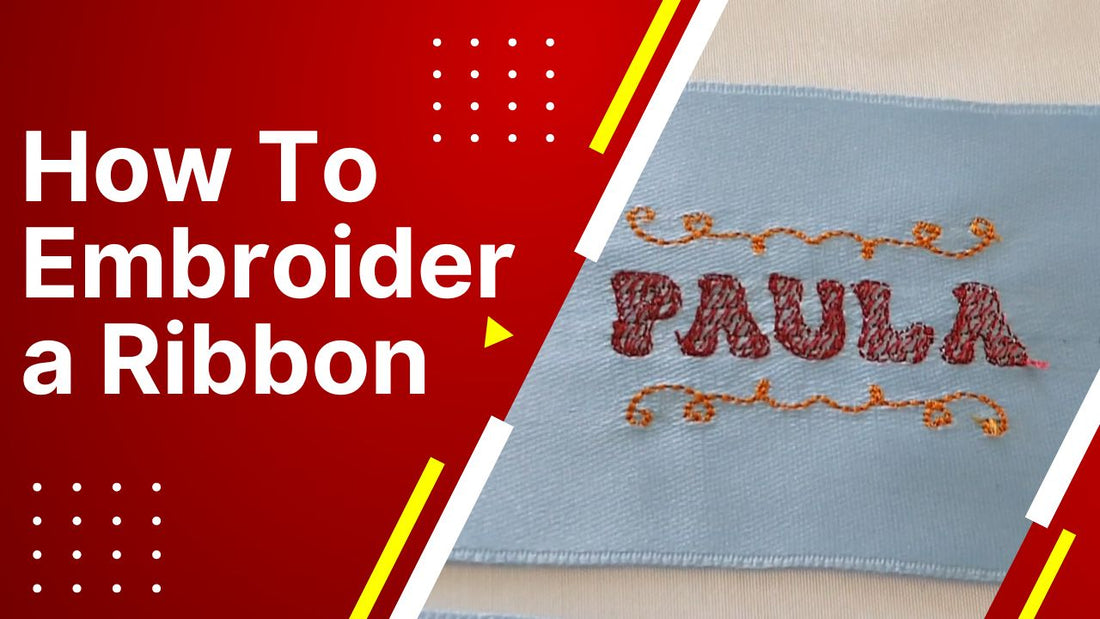
The embroidery design
For these projects the best embroidery designs have lower density. The design must not be complex and the underlay must have only zigzag or edge so that the fabric doesn’t becomes “heavy” and deforms the ribbon. We will use a name and 2 decorative elements. The margins of the design must not be close to the ribbon’s margins. This also prevents puckering.
Mark the ribbon
After you decided where to place the embroidery and chose a design, it’s time to mark the center point, top and bottom margins of the design on the ribbon. These helps us to correctly place the ribbon on the stabilizer and to guide the machine where to embroider. You can do only do the center point if you have the hoop template.
Prepare the stabilizer
For my project I used:
#1. Wash away stabilizer. Cut a piece that will cover your hoop and secure in the hoop. Spray with adhesive the center of the stabilizer(not to much because it will stain the ribbon).
Float the ribbon
Place the ribbon over the stabilizer and try to align it as well as possible. Use the hoop guide template to align perfectly. After you found it’s place, secure it by applying pressure with a finger on the ribbon.
or
#2. Heat Away stabilizer Cut a piece that will cover your hoop and place it over the bottom part of the hoop. Place the ribbon over, add the top part and the hoop's template so you can center the ribbon. The marked center point should be in the middle. The margins of the ribbon must be parallel to the template's lines. After it is centered, close the hoop.
Set the machine
After the ribbon is securely placed in the hoop it’s time to set the machine.
- Attach the new needle and thread the bobbin and top.
- Enter in the machine’s menu and lower your stitching speed. Our was 350 stitches per minute.
- Attach the frame and upload the design to the machine. Align the hoop to the machine's needle by following the guides on the ribbon. The center point must be the same with the machine's needle when testing position. Adjust if needed.
- Before starting the program, lower the top tension to 1 - 1.5. We suggest making some tests to see what works best on your machine, but this is the range our machine stitches without puckering. Start the program.
Finish
After the embroidery is completed, cut the jumps. Depending on the stabilizer, iron it or submerge in water and let the stabilizer dissolve. Then iron it at a lower temperature.
Now it is ready to be used to make hair ribbons, embellish dresses, luggage tags or anything else you can think of.
If you have any questions you can leave them in the comment section below. If you like our teaching style and would like to see more tutorials like this one check out our other tutorials. Also you can subscribe to our newsletter, this way you’ll get notified every time we upload new stuff.